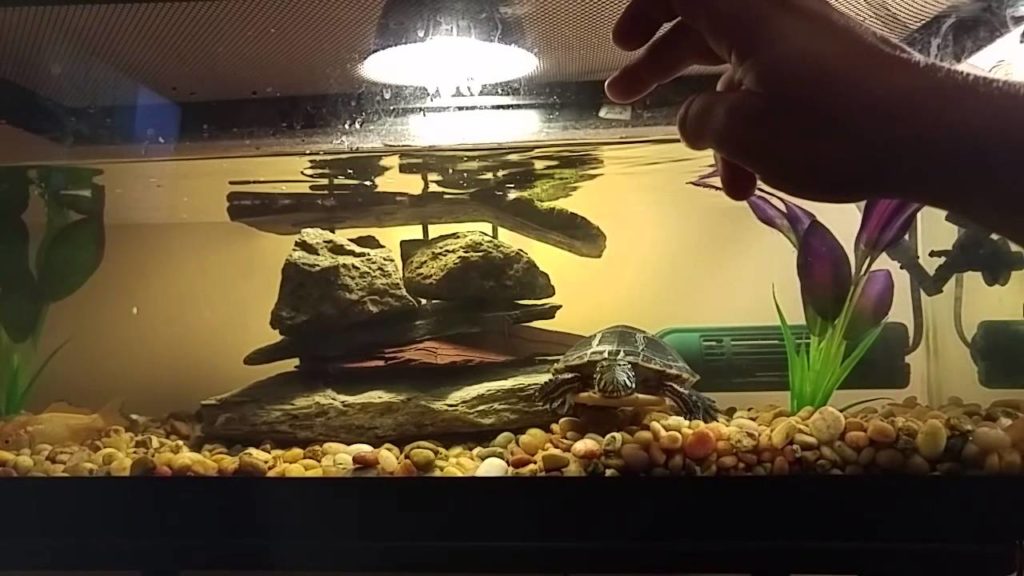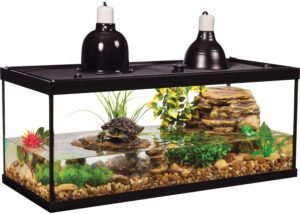
From fish to turtles, these creatures require a lot of care when placed inside tanks. Since it isn’t their natural habitats, you’ll need to ensure that they are always in their optimal state in the tank, prepared by you! In this article, we’re going to be delving into exactly how you can maintain that within your own turtle tank!
How to Clean A Turtle Tank!
Turtle tanks will require you to be very careful when you tend to them, and you’ll have to follow certain steps to ensure you don’t disrupt the lives of these little creatures! Luckily for you, we’re going to be breaking this down here!
Preparing the Tank to be Cleaned!
- Move the Turtle: Now, it’s obvious that you have to move the turtle away from the tank during this process. However, you’ll need someplace to keep your turtle in. For this, you’ll need to ensure you have a container designed just for the safekeeping of your turtle in these situations. It can be a bucket or the case you used to procure your turtle in the first place! Always make sure you have some rocks and enough water in there for the turtle to swim. Make sure the little guy can enjoy his time there!
- Removing Electronics: It’s very important to remove all electronic items from the water (filters and heaters), to ensure you can properly clean the tank and keep them safely as well. Also, always make sure to keep them back as they were, to avoid disrupting your turtle in its habitat. If you’re ever stuck for what filter to use though, we know where you can find the best filters for your turtle tank!
- Removing Decorations: This step goes hand in hand with the previous one. As with the turtle, you should also make sure to keep these items (rocks, plants, etc) all in a safe location.
- Moving and Emptying the Tank: Turtle tanks are usually very heavy, and you should be very cautious in trying to handle them. Empty all the water out and drain it. If your tank does contain substrates such as gravel, make sure to leave those in. You’ll want them to be used again later. However, if you have organic substrates, it’s best to get rid of them and get some new ones.

Cleaning the Tank and its Contents!
- Rinse and Clean the Substrate: Remember that substrate you left in the tank? Well, first we clean that. There’s usually a lot of stuff stuck there, so you’ll need a powerful source of water. This can be either a garden hose or faucets in your tub. You’ll need to fill up the tank around 5-6 times, and you’ll notice the water getting clearer each time. Once you’ve done it a few times, it’s time to move to the next step!
- Cleaning and Scrubbing the Tank: Now that you’ve cleaned the substrates, you’ll need to get to the actual tank. You can find cleaning solutions at different pet stores, or make some on your own. We advise you to go out and buy some, as they’ll last you a while. However, always take into account what plants you use in your tank, as some solutions may create a toxic environment for them.Once you’ve acquired your solution, use a rag or a sponge to clean all of your tank. Make sure to leave no stone unturned! Literally! If your substrates get in the way, make sure to move them out of the way by tilting your tank to the side opposite to the one you’re cleaning. This will be essential because the corners accumulate the most amount of debris, and you’ll want to make sure you clean that out! However, you’ll also want to get to scrubbing your substrates as well! Make sure you’ve got all of the debris out of that tank.
- Cleaning Decorations and Equipment: You’ll want to make sure you use the same cleaning solution to clean these as well. All of your decorations and equipment (filters and heaters), will require being cleaned under a running source of water. Wash them and leave them to dry until you’re done cleaning your tank!
- Rinsing the Tank: Since you’ve done a proper scrubbing of your tank and left it for a bit, you’ll want to wash it all off now. Not only do you have to make sure you’ve got all of the debris out, you’ll also need to make sure that all of the cleaning agent is washed out too. Otherwise it can become toxic for your tank’s ecosystem!

Putting it all Back!
Now that you’ve done all the technical work, all that’s left is the heavy lifting. Quite literally! Place your tank back to where it was, and fill it up with water. Make sure to place back all the decorations and equipment as they were, to avoid making your turtle uncomfortable. Once everything is in place, make sure to dechlorinate your tank’s water, as this is essential no matter what you’re breeding. After this, you’ll want to make sure all your water settings are back to where they should be. From temperature to the chemical levels within the water. This is essential for the turtle’s well being. Just like we suffer from changing climates and different environments, they can’t deal with a change in their ecosystem as well. Only for them, it can be fatal too!
Video:
If you don’t want to chance your luck on this whole process, and be absolutely sure on how to go about it, here’s a visual aid!
The Takeaway!
We hope you’re now clear on the whole process of cleaning your turtle’s tank efficiently and properly! Not only will this keep your tank clean and aesthetically pleasing, but your pet will appreciate your efforts. Once you’re done with the cleaning, just perch the little guy back up onto his favorite spot in the tank, and maybe give him a treat! A little tip to remember is to add a teaspoon of salt into the tank per gallon of water. This will help you clear out some harmful bacteria in the water. Just make sure it’s non-iodized salt! Hope you have a great cleaning session! Make sure to do this at least twice a month!


