
From time to time, we are inclined to make some updates in our household. Sometimes, these projects can be quite hefty, depending on what you want to achieve. So, before you are ready to start them, it is important to know what you want. Since there are a lot of different ways you can resolve pretty much all of these projects.
If you have a lot of metal surfaces, like tabletops, then using a lacquer looks like the way you should go. Using a lacquer to give a new shine to metal surfaces a new, fresh look is something many people do. Sure, there are other approaches you can undertake to make this possible. However, this one has proved particularly useful in this case.
At the same time, this is not the only thing you can use lacquers for. For instance, you can use it for making art, especially modern art that’s done on a metal surface. If you would like to take a look at some works that were done this way, you should pay a visit here, and see some great pieces. Now, we would like to talk about using lacquer on metal in greater detail.
Without further ado, let’s take at what we have been able to gather on this topic.
What is Lacquer?
Before we can talk about this topic further, it is important to say what is lacquer. While there isn’t a definition of these products that we can use for all the situations it is used in, there is one that covers most of the occurrences out there. To describe it as best as it is possible, we can say that it is shellac that was dissolved in alcohol. That way, it is not too strong to damage the surface.
When you perform this dissolving, this mixture creates some sort of protective layer that can prevent damage to materials like wood and metal. Before the process we’ve described was discovered, it was made from chemicals extracted from certain trees and plants. However, the approach is widely different these days, as you can see. Not only that, the liquid you will get gets more protective because of this new approach.
The Protection
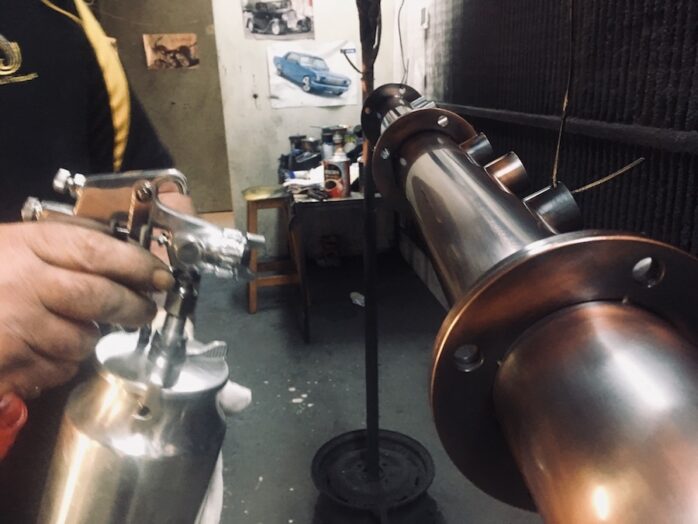
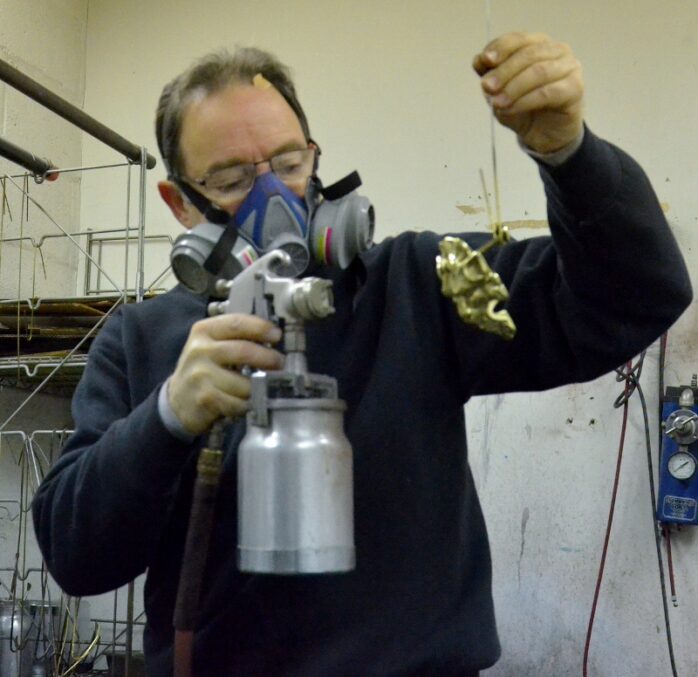
Before you can apply the liquid on the surface, it is important to cover all the parts you don’t want to go over. The easiest way you can do that is to use either masking or blue painter’s tape. Furthermore, make sure that the object is solidly held in position and that it doesn’t move while you work. If you don’t do that, chances are that you will make some mistakes that cannot be fixed instantly.
So, you will waste a lot of time before you can do it. Without any doubt, you don’t want this to happen. At the same, you would want to prepare the metal surface before you begin. That way, you will minimize the potential risks that can ruin all your efforts quite easily.
Preparing the Metal Surface

Before you are ready to apply this liquid to the metal surface, you should prepare the metal surface for the whole process. Now, we will provide you with a short guide on how you can do it.
Step #1
The first thing you should do is get the object you want to protect and move it outside. Since there are a lot of chemicals in the liquid you have produced, doing the whole process outside is an absolute must.
Step #2
Naturally, dusting off the surface before you continue is something you shouldn’t overlook. If there are some dirt or grease particles on it, you should perform a thorough cleaning. Thankfully, the equipment you will need to do it is simple to come by. You will need a bar of soap, a sponge, and a bucket of water. For parts that are hard to reach, we would recommend you use a toothbrush.
Step #3
We would recommend you start with the toothbrush and clean the hard-to-reach parts first. After that, you can use the sponge and clean the highest percentage of the surface. It is important to say that using soft brushes and sponges are the only ones you should use. Otherwise, you can damage the surface.
Step #4
After all the debris is fully cleaned, you should use a degreaser. You will need to be careful about the one you will use. To make sure you are using the proper one, it is crucial to read the manufacturer’s instructions. Also, be careful not to damage the existing paint.
Step #5
When the degreaser was on the surface for a couple of minutes, you should clean it off with clean water. When you do that, be sure to dry it out completely. After this is done, you are ready to apply the lacquer.
What are the Benefits of this Method?
As we’ve mentioned, the commonest way lacquers are used is to remodel all the metal surfaces inside their homes. The refreshed look the lacquer will provide these with can stay new for a quite long time. Sure, after some time you will need to do it again.
Since the mixture you will create cannot spoil over time, you can use that same one when you need it. Not only that it will be waterproof, but it will also be chip-resistant. As you can see, this is something that can make any project of yours much easier in the long run. All it takes is a certain preparation and you are good to go. Plus, you will not be required to invest a lot of money into it.
Summary
Lacquer is a mixture that can make the preservation of metal surfaces in your house much easier. In this article of ours, you could see some of the most important aspects. Remember, preserving the surfaces in your home is not the only thing you can do with it. Nevertheless, it is the commonest way of using this highly-useful chemical. We are sure you will find this article of ours informative.


