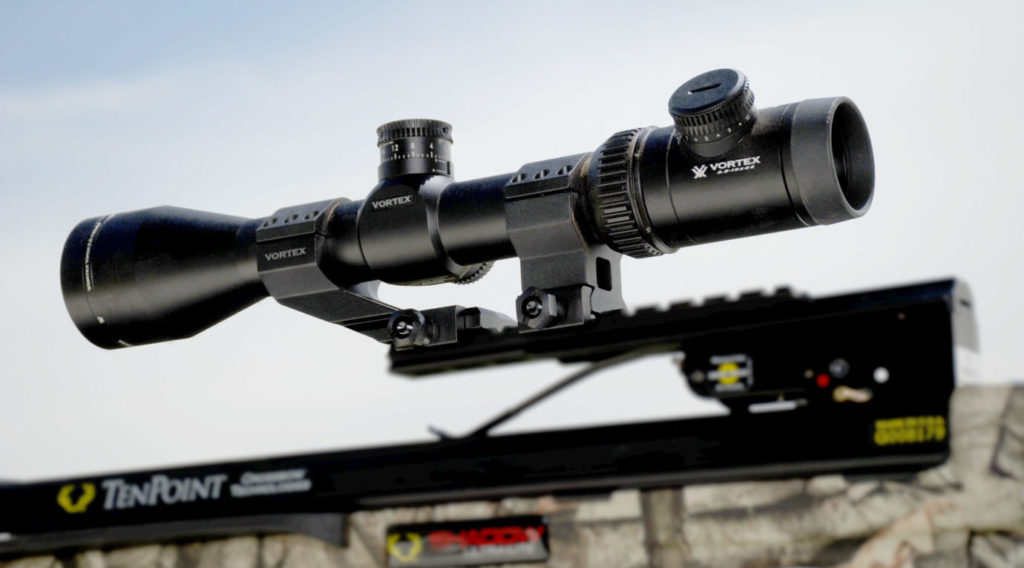
Sighting in a new crossbow can be a hassle. Especially if you have no idea what you are doing. While adjusting a crossbow scope is quite similar to a riflescope, but a lot of people buy crossbow for the sheer experience. A lot of people doesn’t know how to adjust a crossbow scope. For those people, we bring this guide. Let’s hope you will be able to learn how to sight crossbow scope easily. Because that’s what Target Chaser are best at, helping people.
Shooting Aid
We are talking about rest pads like a tripod or a bipod. What it does is it makes your crossbow steady. When you hold it with your own hand it may shake a bit. Humans are humans they do mistake. A little bit of shakiness can destroy the whole process. That’s why it’s better to be precautious than overconfidence.
Step 1:
Step away from the target. 20meters to be exact that’s how far you should stay away from the target. Put your crossbow on the tripod and make sure it’s not shaking.
Oh, don’t forget to c0ck the crossbow before you attach the tripod. You can do it with the help of a rope or if your crossbow came with a crank aid then use it. After cranking put it on top of the tripod begin to aim. Aim your top-most red dot/reticle/crosshair on the bullseye.
You should squeeze the trigger quickly but refrain from using your entire palm. It will ruin the accuracy. Repeat this step 3 times and shoot 3 arrows. Take a photo of those shots.
When you go close to the target and see the marks, all 3 shots should land really close to each other. But maybe they are a little left from the bullseye.
Step 2:
When you approach your target estimate how many inches apart they are from the bullseye. For example, you need 1 inch higher and 2 inches towards the right to land a perfect bullseye.
Now is the time to make some adjustments. If your scope came with protection capes above the knobs then remove them. And make the appropriate adjustments.
A single click on your adjustment knob will move the arrow point 1/20″ in a 20-yard shooting range. You have also determined that you need to adjust 1 inch higher and 2 inches to the right.
Turn the elevation adjustment turrets clockwise. You can use a coin or flat screwdriver for the process. Or your turrets are maybe finger adjustable? If then use your fingers. You need to hear 20 clicks. Because one click corresponds 1/20″ adjustments. Thus if you hear 20 clicks you adjusted a full inch.
Now move on to the windage adjustment turrets. Same as before moving them clockwise. But here instead of 20 clicks, you need to listen for 40 clicks. Because you need to move it 2 inches towards the right. As 20 click represents 1 inch that’s why you need to hear 40 clicks to represent 2 inches.
Step 3:
I am once again asking you to go back to step 1 and take 3 more shots.
But make sure you stand at the same place and follow the same shooting procedure. The top-most reticle on the bullseye and fire.
Go to the target and see how close they landed this time. Almost all the shots should land in the bullseye.
But all of them weren’t accurate. One or at most two will be outside the bullseye. To prevent that from happening you need to tune in your crossbow a little more.
You can do that by going back to the elevation knobs and adjust that counter-clockwise 10 clicks.
go back to the shooting area repeat step 1. Whoa! All 3 shots should be in the bullseye.
But please keep in mind that the actual procedure may take more time than the example. And of course, the adjustments will vary.
You can sight your crossbow at any range you want. As long as your crossbow is capable of shooting that far.


