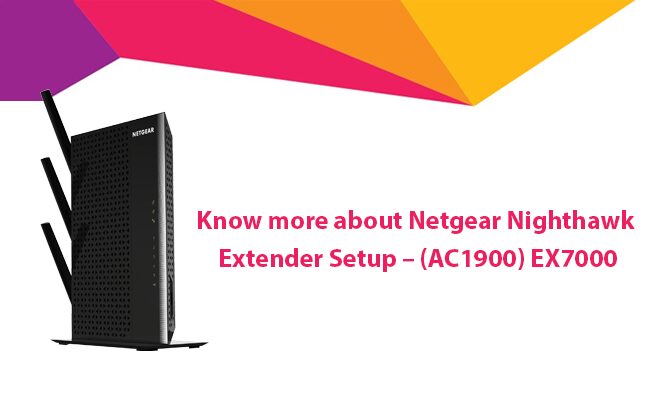
Netgear EX7000 AC1900 WiFi Mesh Extender amplifies your current WiFi network range and coverage, offering up to 1900 Mbps. The extender comes with 700mW high-powered amplifiers to provide you maximum WiFi performance and extreme WiFi range. It is designed to work in two modes: Range Extender and Access Point. You can perform the Netgear AC1900 Setup in any mode that suits your requirements.
If you are looking to set up your Netgear EX7000 AC1900 WiFi range extender, then this post will be your best bet. Here, we will explain each and every step involved in setting up your Netgear AC1900 EX7000 WiFi range extender. Just scroll down and read more.
Prerequisites for Netgear EX7000 Setup
Prior to getting started with the Netgear EX7000 setup process, ensure to have the following:
1. One WiFi network connection i.e. either 2.4 GHz or 5 GHz must be in an active state.
2. The existing router’s WiFi settings which involve the network name or SSID and passphrase.
Now, let’s move forward to set up your Netgear AC1900 WiFi range extender model EX7000.
Netgear EX7000 Setup in the Range Extender Mode
Walk through the steps outlined below and set up your Netgear AC1900 EX7000 Extender as a wireless range extender:
1. Put your extender to a tidy place in your home or workplace.
2. Insert the extender into an electrical outlet.
3. Now, turn the extender on.
4. Take a PC or mobile device and connect it to the home WiFi network.
5. After that, open a web browser of your choice and type mywifiext.net in the address bar.
6. Once you press the Enter key, the AC1900 setup wizard will open.
7. Create an admin password and hit save.
8. Select a WiFi network you wish to extend.
9. Enter the network password to continue.
10. At last, hit the Finish button.
Thus, by following these simple steps, you can easily complete your Netgear EX7000 Setup. Now, connect all your wired and wireless devices to the extended network and enjoy the AC1900 speed.
Netgear EX7000 Setup in the Access Point Mode
Access points or wired range extenders create new WiFi hotspots when connected to the router using an Ethernet cable. To set up your Netgear EX7000 AC1900 WiFi range extender as an access point, follow the steps given below:
1. Be 100% sure that your router has a working internet connection. Also, verify if the Ethernet cable long enough to connect the extender to the router.
2. Now, plug your Netgear WiFi extender into an electrical outlet.
3. Take an Ethernet cable and connect the extender to your router.
4. Afterward, connect your computer, laptop, or smartphone to the home WiFi network.
5. Access mywifiext web page via a web browser to complete Netgear AC1900 Setup.
6. Go through the on-screen instructions in the exact given order and create a network name or SSID and passphrase for your access point.
Note: Use mywifiext.local web address to set up your Netgear AC1900 EX7000 extender on a Mac or iOS device.
Once done, your Netgear EX7000 WiFi extender has been set up as an access point. Now, connect your WiFi devices to the newly created extended network. If you come across any type of issue during Netgear EX7000 Setup, reset your Netgear WiFi extender to the default factory settings and set it up from scratch again. Else, you can contact our expert technicians and set up your Netgear extender without any issue.


